In short
The Todo app is the "hello world" of real projects, and there's a reason. It makes you join state, the DOM, events and storage into one thing that actually works.
The classic first JS project — add, complete, delete and filter tasks — practicing DOM manipulation, events, arrays and localStorage persistence together. This project combines state, events, DOM updates, persistence, filtering, and user interaction, making it a strong exercise for connecting multiple beginner JavaScript concepts.
Think of it like this
Sticky notes before exams
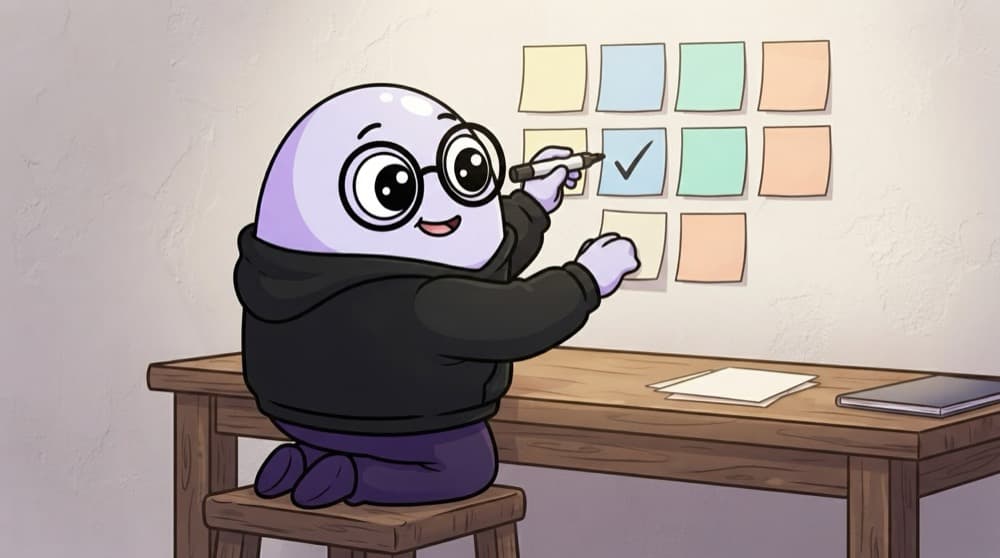
Before exams, your hostel wall fills with sticky notes. You add one, strike it off when done, peel off the ones you don't need, and they're still there the next morning. Your Todo app is that wall, minus the glue marks.
Watch it happen
How the Todo app's parts talk
add "Buy milk"
1/6The user submits a new task. It's pushed into the todos array first.
The big ideas
What you need to know
State is the truth
Keep all todos in one array of objects. The page is just a picture of that array.
One render function
Change the array, then call render() to redraw the list. No hand-editing the DOM in five places.
Delegate clicks
One listener on the list handles tick and delete for every item, including ones added later.
Survive a refresh
Save the array to localStorage after every change and load it when the page opens.
How it works
Build plan
- 1
Skeleton
An input, an Add button and an empty <ul> in HTML.
- 2
State and render
A todos array and a render() that draws it.
- 3
Add, tick, delete
Update the array on each action, then re-render.
- 4
Persist
Save to localStorage on every change and load on startup.
- 5
Filters and polish
All, Active and Done tabs, an item count and empty-state text.
See it in code
Walk through the code
1let todos = JSON.parse(localStorage.getItem("todos") ?? "[]");2 3function save() {4 localStorage.setItem("todos", JSON.stringify(todos));5}6 7function render() {8 const list = document.querySelector("#list");9 list.replaceChildren(...todos.map((t) => {10 const li = document.createElement("li");11 li.textContent = t.text;12 li.dataset.id = t.id;13 li.classList.toggle("done", t.done);14 return li;15 }));16}1/4Load saved todos, or start with an empty array the first time.
replaceChildren clears the list and adds fresh items in one go. Every add, tick or delete should change todos, call save(), then call render().
Save yourself the pain
Common mistakes
Oops
Editing the DOM directly and forgetting to update the array.
Do this instead
The page and your data drift apart, and the next refresh brings back deleted items. Always change state first, then render.
Oops
Using the array index as a todo's id.
Do this instead
Indexes shift when you delete. Give each todo a real id, like crypto.randomUUID() or Date.now().
Oops
Setting li.innerHTML = todo.text.
Do this instead
A todo like <img onerror=...> would run code. Use textContent for anything the user typed.
Your mission
Milestone 1: add and remember
Quick check
You write localStorage.setItem("todos", todos) where todos is an array of objects, without JSON.stringify. What gets saved?
Go deeper
- 1Persist tasks to localStorage so they survive a page refresh. Validate your understanding by applying it in a small practical example.
- 2Add filtering (all/active/completed) using array `.filter()`. Test the result on both a successful path and an invalid or unexpected input.
- 3Practice event delegation for delete buttons on dynamically added items.
More projects at this stop
 Quiz
 Calculator
 Weather App
 Movie Search
 Expense Tracker
 Infinite Scroll
 Image Gallery

Stuck on this topic? Ask an Insider
Get 1:1 guidance from people who've walked this exact path — on the InsideEdge app.
